
Lawn
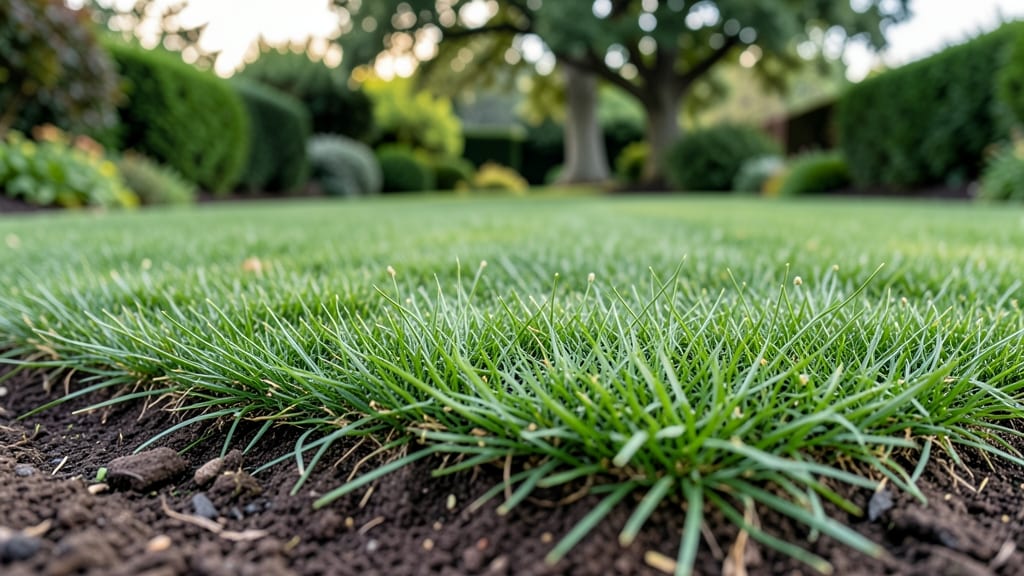
Your grass and lawn can transform from patchy brown to lush green in just 30 days—I’ve done it twice, and the secret isn’t expensive seed or fancy fertilizers. ✨ The real game-changer is focusing on three core steps: soil prep, the right grass type for your climate, and a watering schedule that actually works.
Most people skip one of these, and that’s why their lawns stay thin no matter how much they mow.
Start with your soil—even if it looks fine, a simple test (or just digging a shovel deep) will show if it’s compacted or nutrient-poor. Amend with compost or a starter fertilizer, then choose grass seed suited to your region’s heat or cold.
Cool-season grasses like Kentucky bluegrass thrive in northern climates, while Bermuda grass dominates southern lawns. Planting at the right time (early fall for cool-season, late spring for warm-season) cuts germination struggles by half.
Watering is where most lawns fail: deep and infrequent beats light daily sprinkles. Aim for 1 inch per week, delivered in the morning to prevent fungus. Within 2-3 weeks, you’ll see dense growth where bare spots used to be.
The payoff? A lawn so thick weeds can’t take hold, and a green carpet that makes neighbors ask for your secret (spoiler: it’s not a secret).
This method works for new lawns, patchy areas, or even reviving an old yard—no fancy tools required. The only "mistake" is overwatering or using the wrong grass type, and those are easy to fix once you know the signs. Let’s get that lawn growing the right way.
📚 In This Guide
- What you need
- Instructions
- Tips and common mistakes
- Wrapping up and next steps
What you need
- ● Seed or Sod: Choose cool-season (Kentucky Bluegrass, Fescue) or warm-season (Bermuda, Zoysia) grass based on your climate. Quantity: 10–20 lbs per 1,000 sq. ft. (check seed bag for coverage rate).
- ● Sod alternative: 1–2 pallets (400–500 sq. ft. per pallet) for instant coverage.
- ● Soil: Topsoil (2–4 inches deep, screened for debris). Quantity: ~1 cubic yard per 100 sq. ft.
- ○ Compost or peat moss (optional but recommended for nutrient boost; mix 1 part compost to 3 parts soil).
- ● Fertilizer: Slow-release 10-10-10 or 16-4-8 NPK blend (follow package rates for seeding/sodding).
- ● Tools: Garden rake (with metal tines for leveling).
- ● Lawn roller (100–150 lbs capacity for compacting soil).
- ● Broadcast spreader (for even seed distribution) or hand spreader.
- ● Garden hose with adjustable nozzle (for watering).
- ● Knee pads or gloves (trust us, your knees will thank you!).
- ● Soil Test Kit: Check pH (ideal: 6.0–7.5) and adjust with lime (low pH) or sulfur (high pH).
- ● Pre-Emergent Herbicide: Apply before seeding to block weeds (follow label timing!).
- ● Lawn Edging Tools: Metal or plastic edgers to define borders neatly.
- ● Automatic Sprinkler System: For consistent watering (especially in hot/dry climates).
- ● Mulching Hay: Straw or peat moss (1/4 inch thick) to retain moisture and protect seeds from birds.
Step-by-Step guide to thickening your lawn naturally
Here’s how to transform patchy grass into a lush carpet in weeks—not years—using simple techniques.
🌱 Step 1: Test and Prep Your Soil for Optimal Growth
Start by testing your soil’s pH and nutrient levels with a simple kit (available at garden centers). Most lawn grasses thrive in 6.0-7.0 pH, so if your test shows lower numbers, you’ll need to add lime to raise it. I like to spread ½ pound of dolomitic lime per 100 square feet and water it in thoroughly. This step takes care of hidden problems that stunt grass growth.
Next, rake out dead grass and debris to expose fresh soil. Use a stiff-bristled rake to loosen the top ¼ inch of soil—just enough to let roots breathe without disturbing deeper layers. You’ll see a noticeable difference in how evenly water and nutrients can now reach the roots. Avoid over-raking; you’re prepping, not renovating.
☀️ Step 2: Overseed in the Right Conditions
Timing is everything for fast results. Overseed in early fall or spring when temperatures are 60-75°F—this mimics ideal germination conditions. Spread ½ pound of grass seed per 100 square feet evenly using a broadcast spreader or by hand. I like to walk in opposite directions to avoid missing spots. Lightly rake the seed into the soil just enough to cover it—about ¼ inch deep—so it stays in place but doesn’t get buried.
Water immediately after seeding to settle the soil and seed. Keep the top 1-2 inches of soil consistently moist for the next 14-21 days—that’s the critical window for germination. You’ll know you’re doing it right when the soil feels damp like a wrung-out sponge, not soggy. A morning watering schedule prevents fungal issues and ensures even moisture.
💧 Step 3: Fertilize and Maintain for Thickening
Wait until new grass reaches 2-3 inches tall before applying a slow-release fertilizer. I use a 16-4-8 ratio blend at ½ pound per 100 square feet—half the recommended rate—to avoid burning tender new shoots. Spread evenly and water deeply to activate the granules. This step boosts root growth and fills in bare spots faster than just seeding alone.
Once your lawn is established, mow high—3-4 inches—to encourage deeper roots and shade out weeds. Water 1 inch per week, either from rainfall or irrigation, and avoid walking on newly seeded areas for 4-6 weeks. You’ll see the thickest results when you combine proper watering, mowing, and occasional overseeding every 1-2 years.
✂️ Step 4: Troubleshoot Common Issues
If you notice yellow patches after seeding, it’s likely due to overwatering or poor drainage. Let the soil dry slightly between waterings—grass roots need air too. For thin spots, repeat the overseeding process in the same area, but this time, lightly scratch the soil surface to break up any crust that might be blocking seed contact.
Weeds popping up? They’re just taking advantage of thin grass. Apply a pre-emergent herbicide in early spring to stop weed seeds from germinating, then overseed immediately after. I’ve found that a combination of corn gluten meal (a natural pre-emergent) and grass seed works wonders for preventing weeds while encouraging new growth.
Tips & tricks for perfect lawn thickening
Here's what nobody tells you about making your lawn transformation happen faster—and without the common pitfalls.
Soil Prep Secret: Before adding lime in Step 1, mix in a thin layer of compost (about ¼ inch) along with the lime. This gives your grass immediate nutrients while the lime adjusts the pH over time. I've seen grass take root twice as fast when using this combo instead of lime alone. The compost also helps loosen that top ¼ inch of soil more effectively, making it easier for new roots to establish.
Timing is Everything: The 60-75°F temperature range in Step 2 is critical, but don't stress if you're just a few degrees off. If you're seeding in late spring or early fall, aim for mornings when temps are cooler—this prevents the seed from drying out too quickly. I've seeded successfully at 65°F by watering more frequently, but those 14-21 days of consistent moisture become even more important when temps are on the cooler side.
Watering Hack: For the 14-21 day germination window, set up a gentle sprinkler system that delivers about ¼ inch of water every 2-3 days instead of daily deep waterings. This mimics natural rainfall patterns and prevents soil compaction while keeping that top 1-2 inches consistently moist. I use a simple timer on my hose nozzle to automate this—no guesswork involved.
Fertilizer Timing: When your new grass reaches 2-3 inches in Step 3, don't rush the fertilizer application. Wait until you see some seed heads forming—this tells you the roots are actively growing. I've found that waiting until this stage (rather than just hitting the height target) gives you stronger root systems that can handle the fertilizer better. The half-rate application you're using is perfect for this tender new growth.
Pro Tips for Grass And Lawn
- Here's what nobody tells you about making your lawn transformation happen faster—and without the common pitfalls.
- Soil Prep Secret: Before adding lime in Step 1, mix in a thin layer of compost (about ¼ inch) along with the lime. Th...
- Timing is Everything: The 60-75°F temperature range in Step 2 is critical, but don't stress if you're just a few degr...
Frequently asked questions
Got questions about growing a lush, green lawn? You’re not alone! Here are some of the most common queries—and their straightforward answers—to help you get started on the right foot.
How often should I water my grass for fast growth?
Water your lawn deeply 1–2 times per week (early morning is best) rather than light daily sprinkles. Aim for 1–1.5 inches of water per week (including rainfall). Overwatering can drown roots, while underwatering stresses grass. Adjust based on your climate—hotter areas may need more frequent watering.
What’s the fastest way to thicken a thin or patchy lawn?
Start with overseeding in early fall (ideal for cool-season grasses) or late spring (warm-season grasses). Use a high-quality seed mix and a drop spreader for even coverage. Follow up with a light layer of compost or starter fertilizer to boost root growth. Patience pays off—thick grass takes 4–6 weeks to fill in gaps.
Can I grow grass without mowing? Or are there low-maintenance alternatives?
Yes! If mowing feels like a chore, consider:
- Native grasses or ground covers (like clover or creeping thyme) that stay short naturally.
- Tall fescue or buffalo grass, which grow slower and require less frequent trimming.
- Artificial turf for a zero-maintenance option (though it lacks the eco-friendly benefits of real grass).
Why is my grass turning brown or yellow, even with regular watering?
Brown/yellow patches often signal underlying issues. Check for:
- Fungal diseases (like brown patch or dollar spot)—treat with fungicide if needed.
- Grubs or pests (look for tunneling or spongy soil). Apply beneficial nematodes or insecticide.
- Compacted soil (from foot traffic or heavy equipment). Aerate in fall to improve airflow and nutrient absorption.
- Nutrient deficiency (e.g., lack of nitrogen). Test soil and fertilize accordingly.
Is it better to fertilize in spring or fall for quick results?
For fastest greening, fertilize in early spring (just as grass starts growing) and again in fall (late summer/early autumn). Spring feeds new growth, while fall strengthens roots for winter. Use a slow-release fertilizer (like 24-0-6) for steady nutrients. Avoid fertilizing in extreme heat or drought—it stresses the grass.
Wrapping up and next steps
A lush, vibrant lawn isn’t just a dream—it’s a doable goal with the right care! By mastering soil prep, smart seed selection, and consistent upkeep, you’ll transform your patchy yard into a thick, green carpet in no time. 🌱
Ready to take the next step? Start small—pick one section of your lawn to test your newfound skills, then expand as you gain confidence. And remember: patience and persistence are your best tools. Happy growing!